
I think my problem was the little disks that you can buy weren’t thick enough, nor were they big enough. Sure, they make great little bitty poms, but really big, substantial ones? Nope. So, here is my way to make the little buggers…
You will need: Yarn (I like using a chunky one – Homespun from Lion Brand works really well. It’s chunky, and frays really nicely when you are done), a big yarn needle, cardboard, scissors.

 Step one: Cut your cardboard into circles… any size you want, but remember, this will determine the size of your pom. I make various sizes, anywhere from two inches across to five inches across for super big poms. Cut a second circle in the center. I usually stab the scissors right through the center and cut around. These don’t have to be perfect. This is a very forgiving project.
 Step two: Thread your yarn needle with about 12 feet of yarn… pull straight through so you have two equal lengths of 6 feet on either side of your needle. You will have to repeat this process several times, but any longer, the yarn gets really tangled.
Step three: Holding your two cardboard circles together, push your needle down through the center hole – all the way through until the end. Grab hold of the end of the yarn, and wrap your needle around the outside of the cardboard circles, and push it back down through the hole. Repeat this process around the cardboard circles until you run out of yarn. Then, repeat steps two and three until your center hole is “full”. Don’t worry about stray ends; they become part of the pom.

Step four: Cutting. Take your scissors and around the outside of the pom, cut your strands. I recommend holding the pom tightly during this process. Mine don’t usually go anywhere, but you never know.
 Step five: Taking a strand (I usually make mine pretty long), carefully pull apart your cardboard disks – SLIGHTLY. Wrap your strand of yarn around the center of the pom, between the disks. Tie very tightly (but don’t snap your yarn!)
 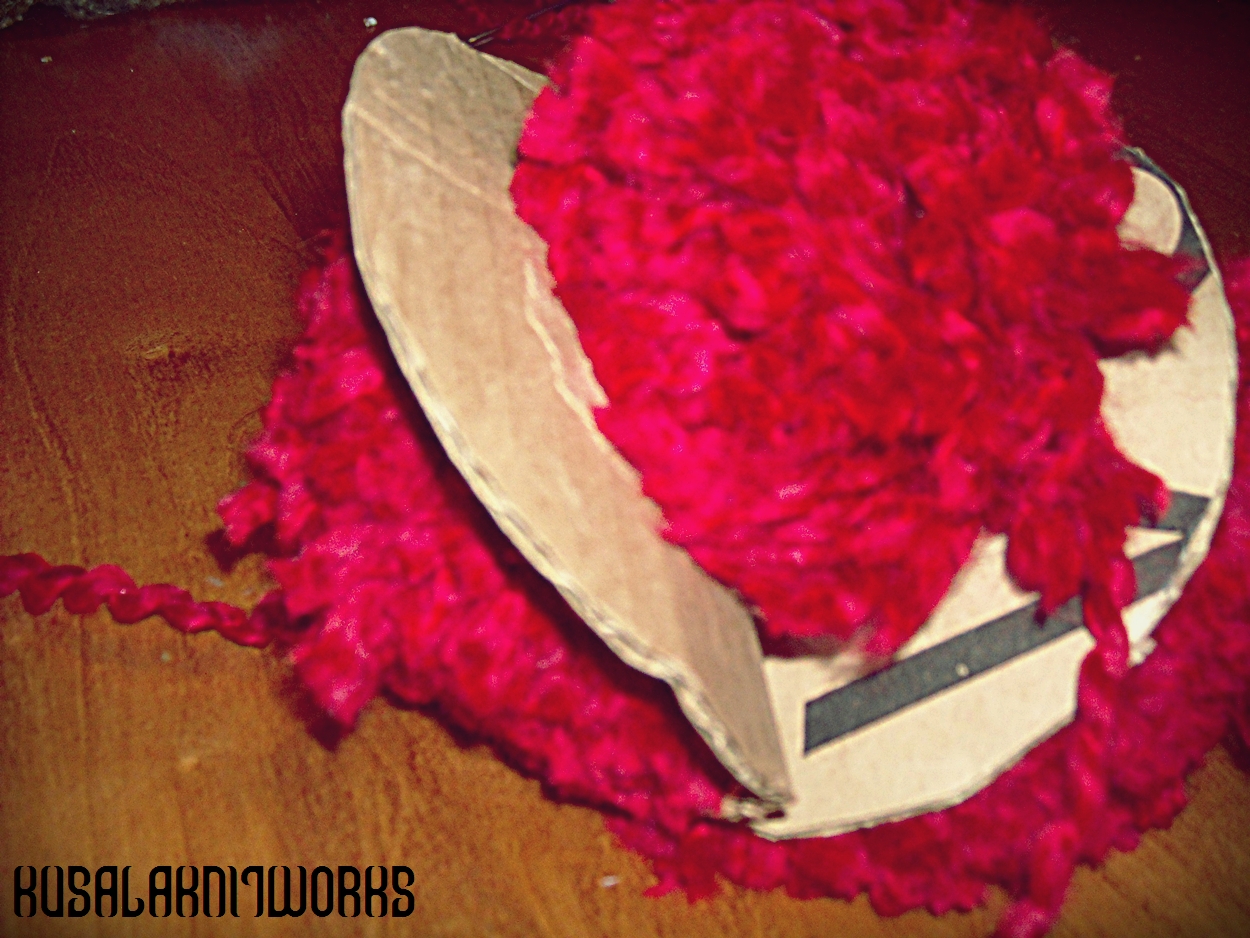 Step six: Gently pull the cardboard disks off. This takes some working, and if need be, don’t be afraid to carefully make a cut from the outside of the disk to the center. That’s the nice thing about using cardboard.
Step seven: Fluff and trim! Using your scissors, give your pom a hair cut to make it even.
 Step eight: If you used a long strand of yarn, then make a little knot near the end and you can hang it on your tree, tie it on your package, or do whatever you like, as is! Or, if you’re using them for a different type of project, simply trim the strands even with the ball! These are terrific for households with little kids - no ornament breakage.
Whoo hooo! Do a happy dance because…. YOU’RE DONE!
Dear kusala,
ReplyDeleteI'll reveal a precious secret my mum told me about pom poms... if you make a cut in the cardboard discs, like a ray, then you can easily slip the wool whil windind it around the disc without using any needle. it's a lot quicker!!!
I love these Pom Pom instructions! Thank you for sharing:)
ReplyDeleteI have nominated you for the Stylish Blogger Award and also am now your newest blog follower. Click below to read about your award and get your award button.
http://autumnbluesreviews.blogspot.com/2011/01/i-won-stylish-blogger-award-are-you.html
Thanks for the comments guys! @Miss Copy - I've seen them done like that before as well... I've found that they tend to snag unless you tape of the slice with a heavy duty tape, like duct tape.
ReplyDelete@Autumn Blues - Thanks so much! I'm glad you like my little corner of the internet!